Window Installation
High Performance Window Installation
Proper window installation is an essential process among low energy consuming buildings. Standard construction methods often leave sources of air leakage, or worse, water leakage, which accelerate the deterioration of the building. Superior window installation methods protect the interior environment and building’s structure from the elements for decades to come.
Air leakage is one of the primary sources of energy waste in buildings. We burn fossil fuels and money to run our mechanical systems to condition our air to keep it comfortable all year round. In order to keep our conditioned air inside the home, we must make the building airtight. Along the walls, exterior sheathing with taped seams is what prevents air movement through the walls. To achieve airtightness when installing windows, we must continuously seal the sheathing material to the window frame.
Sealing the exterior sheathing to the window frame begins with preparing the window rough opening. There is a seam between the framing lumber and the sheathing that is a potential source for air leakage. Our window installation process begins with sealing this seam. This is shown in figure 1 using Joint & Seam Filler by PROSOCO. This ensures a continuous air barrier from the taped sheathing to the rough opening. In figure 2, our team member is spreading the Joint & Seam Filler into the seam, ensuring the seam is filled, preventing any air movement. Figure 3 shows the rough opening with the seam between the framing and sheathing filled and ready for a liquid applied flashing application.
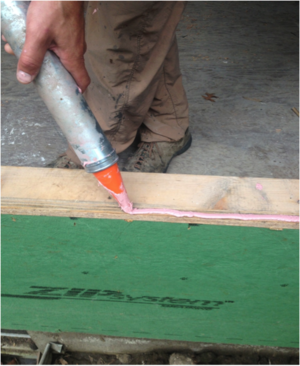
Figure 1: Applying the Joint & Seam Filler to window rough opening

Figure 2: Spreading the Joint & Seam Filler into the seams
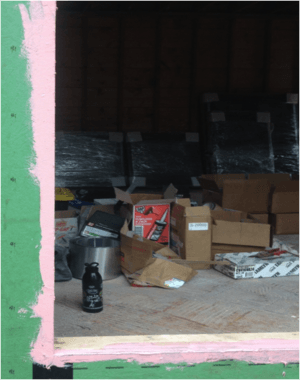
Figure 3: Joint & Seam Filler in the rough opening
Next, the rough opening must be flashed and made waterproof. In figures 4 & 5, the rough opening is coated in FastFlash liquid applied sill sealer by PROSOCO. This product has advantages over the traditional peel and stick system. Peel and stick membranes can have multiple seams that can lead to potential leakages. With a fluid applied membrane, there are no seams, just a continuous waterproofed system and a connection in the air barrier.
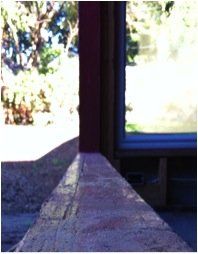
Figure 4: Fluid applied membrane on window sill
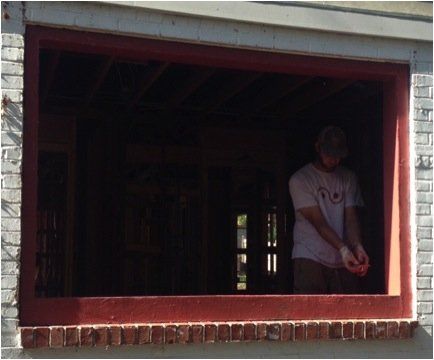
Figure 5: Fluid applied membrane on window sill
Finally, the window is air sealed to the liquid applied flashing membrane using either a sealant or a tape. In figure 6, the Air Dam sealant from PROSOCO is shown making this connection on the interior window frame edge. In figure 7, a high performance tape is shown making this connection.
Figure 6: Air dam sealant installed around window
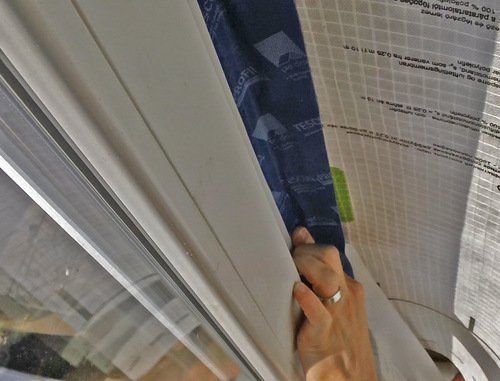
Figure 7: Tape installed around the window frame
The continuous air barrier from the exterior sheathing to the window frame is now complete, eliminating air leakages typically left by standard building methods. By taking a little more time to install windows properly, you can ensure greater comfort inside your home, reduce your energy spending, and save on costly future building repairs.

View a 30 second time-lapse video of our team installing a casement window using these installation methods below: